Introduction
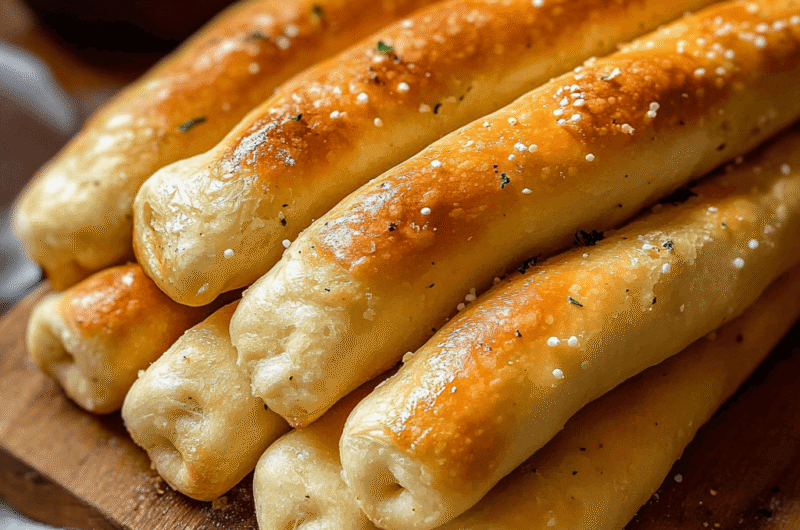
There's something undeniably comforting about the aroma of freshly baked breadsticks wafting through your kitchen. The golden-brown hue, the soft texture, and that perfect dip in garlic butter or marinara make breadsticks a delightful addition to any meal.
In this article, you'll learn the nuances of making homemade breadsticks that not only taste great but also stand out with unique flavors and textures. From the dough's consistency to the baking time, every detail contributes to the end result.
So roll up your sleeves and get ready to explore the art of breadstick making, and soon enough, you'll be serving freshly baked delights that everyone will ask for seconds.
Ingredients
- 3 1/2 cups all-purpose flour
All-purpose flour provides the main structure for your breadsticks. The gluten in the flour gives them that chewy and soft texture, allowing them to rise properly during baking. - 1 packet (2 1/4 teaspoons) instant yeast
Yeast is crucial for leavening, which helps the breadsticks rise and become airy. Instant yeast also allows for quicker preparation since it doesn’t require proofing. - 1 teaspoon salt
Salt enhances the flavor and controls yeast activity, ensuring the dough rises at a steady rate while providing a savory taste. - 1 tablespoon sugar
Sugar serves as food for the yeast, promoting fermentation and a subtle sweetness that balances the flavors. - 1 1/4 cups warm water (110°F)
Warm water activates the yeast, helping the dough to rise and develop a nice texture. It's essential not to use boiling water, as it can kill the yeast. - 2 tablespoons olive oil
Olive oil adds moisture and flavor, contributing to the breadsticks' richness. It also helps in achieving a crisp exterior when baked. - 2 teaspoons garlic powder
Garlic powder infuses the dough with a savory essence. It complements the final breadsticks, especially if you plan to serve them with dips. - 1/4 cup grated Parmesan cheese (optional)
Parmesan cheese adds a delightful umami flavor and a touch of richness. It can elevate your breadsticks into a gourmet treat.
Directions & Preparation
Step 1: Combine dry ingredients in a bowl.
Start by mixing the all-purpose flour, instant yeast, sugar, salt, and garlic powder in a large mixing bowl. This step is crucial as it ensures that the yeast activates evenly throughout the dough, which results in uniform rising and flavor in each breadstick.
Step 2: Add warm water and olive oil to the dry mix.
Pour the warm water and olive oil into the bowl with the flour mixture. The warmth of the water is essential for activating the yeast, creating a bubbly dough. Mix until the dough begins to come together; it should be slightly sticky but manageable.
Step 3: Knead the dough until smooth and elastic.
Transfer the dough onto a floured surface and knead for about 8-10 minutes. This step develops the gluten, giving structure to the breadsticks. The dough should become smooth and elastic, indicative of effective kneading.
Step 4: Let the dough rise until doubled in size.
Place the kneaded dough in a lightly oiled bowl, cover with a damp cloth, and let it rise in a warm area. This fermentation phase, lasting about an hour, is vital for developing flavor and texture in the breadsticks.
Step 5: Preheat the oven and prepare a baking sheet.
While the dough is rising, preheat your oven to 375°F (190°C). Line a baking sheet with parchment paper. Having everything prepared ahead of time will streamline the process when you're ready to shape the breadsticks.
Step 6: Shape the dough into breadsticks.
Once the dough has risen, punch it down to release excess air. Divide it into equal pieces, then roll each piece into a long stick. This shaping is where you can personalize the size and thickness, ensuring they cook evenly.
Step 7: Arrange breadsticks on the baking sheet.
Place the shaped breadsticks on the prepared baking sheet, spacing them about an inch apart. This gives them room to expand during baking and ensures they don’t stick together.
Step 8: Let the breadsticks rest before baking.
Cover the arranged breadsticks with a clean kitchen towel and let them rest for an additional 20-30 minutes. This step allows for a second rise, which contributes to a lighter and fluffier texture in the finished product.
Step 9: Bake the breadsticks until golden brown.
Bake in the preheated oven for 15-18 minutes, or until they are golden brown. Keep an eye on them, as baking times can vary depending on the oven and size of the breadsticks.
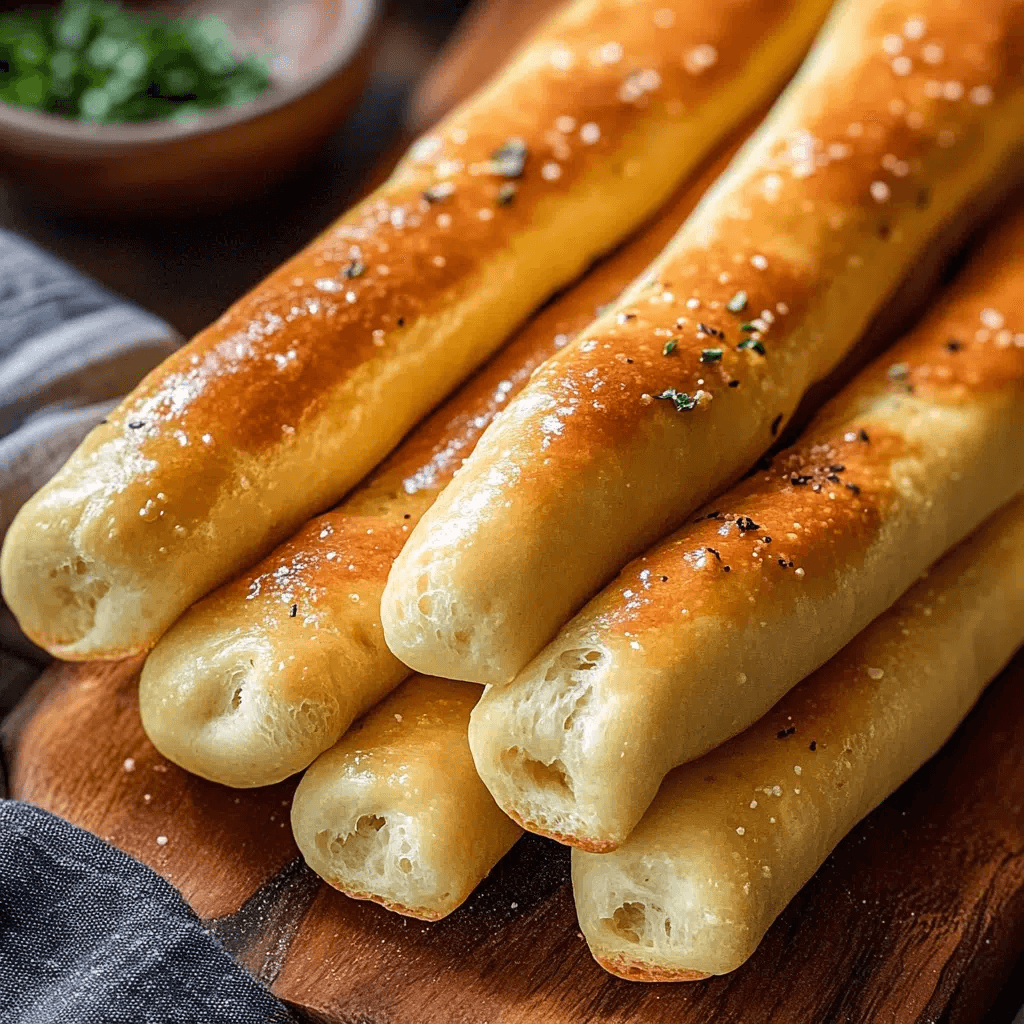
Step 10: Brush with butter and sprinkle with Parmesan.
As soon as you remove the breadsticks from the oven, brush them with melted butter and, if desired, sprinkle with Parmesan cheese. This finishing touch enhances the flavor and aroma of the breadsticks.
Step 11: Serve warm with your choice of dip.
For the best experience, serve the breadsticks warm. They are perfect for dipping in marinara sauce or garlic butter. The warmth enhances the flavor and texture, making every bite delightful.
Experimenting with Flavors
Homemade breadsticks are a fantastic canvas for flavor experimentation. While this basic recipe works wonderfully, consider adding herbs like rosemary or thyme directly into the dough for a fragrant twist. You can also experiment with cheese varieties like feta or cheddar for a unique profile.
Making a Herb Oil Dip
A simple herb oil dip elevates your breadsticks to a whole new level. Combine olive oil with fresh herbs like basil, parsley, and a hint of chili flakes. Serve this alongside your warm breadsticks to add a fresh and zesty note to each bite.
Perfect Pairings for Your Breadsticks
These homemade breadsticks pair beautifully with a variety of dishes. Serve them alongside a rich tomato soup for comforting meals or as a side to a fresh salad. They also make an excellent addition to pasta nights or family gatherings, bringing an extra touch of warmth to your table.
FAQs
What should I do if my breadsticks are too thick?
If your breadsticks turn out too thick, try rolling them out more evenly next time to ensure they bake properly. Alternatively, you can slice them thinner after baking, although this may alter the texture.
How can I adjust the recipe for a smaller batch?
To reduce the recipe, simply halve each ingredient to maintain the correct proportions, ensuring you achieve the same texture and flavor in a smaller quantity.
What if the dough feels too sticky?
If your dough is excessively sticky, gradually add small amounts of flour while kneading until it reaches a manageable consistency. Be cautious not to add too much flour, as it can make the breadsticks dense.
How do I know if the breadsticks are cooked through?
Breadsticks are done when they are golden brown on top. You can also tap the bottom; a hollow sound indicates they are cooked through.
Can I add other seasonings to the dough?
Absolutely! You can mix in seasonings like Italian seasoning, paprika, or chili powder to customize the flavor profile of your breadsticks.
Why are my breadsticks bland?
Bland breadsticks often result from insufficient salt or seasoning. Ensure to follow the ingredient ratios, and consider adding more herbs and spices to enhance flavor.
Conclusion
Creating homemade breadsticks is a rewarding culinary endeavor that brings warmth and comfort to your dining experience. With each bite, you can enjoy the fruits of your labor and the satisfaction of a homemade treat.
Experiment with flavors and pairings to find what best suits your taste. Whether it’s a casual family dinner or a festive gathering, these breadsticks will surely impress and delight all who partake.
Recipe Card
Notes
Additional serving suggestions: pair with a crisp salad, garlic bread, or roasted seasonal vegetables for balance.
For make-ahead, prep components separately and assemble just before heating to preserve texture.
Taste and adjust with acid (lemon/vinegar) and salt right at the end to wake up flavors.