Introduction
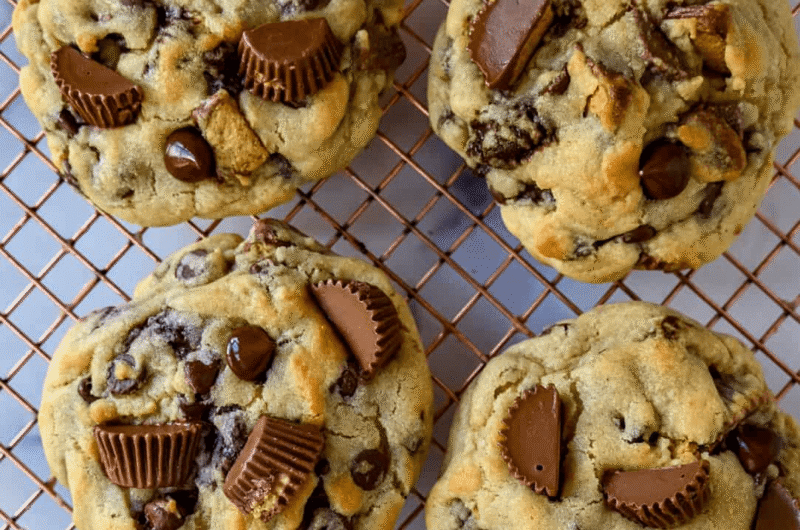
Few cookie combinations evoke nostalgia quite like peanut butter and chocolate. Among them, the Reese’s Peanut Butter Cookies stand out as a favorite treat for all ages. The rich flavor of peanut butter melds perfectly with the sweet, creamy chocolate center, making every bite a delightful experience.
These cookies are not just delicious; they’re also simple to prepare, making them perfect for home bakers, whether you’re an amateur or a seasoned pro. With just a handful of ingredients, you can whip up a batch of these heavenly cookies and share them with friends and family or keep them as a delightful treat for yourself.
Ingredients
- 1 cup creamy peanut butter
Peanut butter is the star ingredient, providing the rich, nutty flavor and chewy texture characteristic of these cookies. Creamy peanut butter ensures that the dough stays smooth and that the cookies don't crumble excessively. - 1 cup granulated sugar
Sugar sweetens the dough, balancing the salty elements of the peanut butter. It also contributes to the texture, giving the cookies a delightful crisp exterior that contrasts the soft center. - 1 large egg
The egg serves as a binder, helping to hold the cookie dough together and provide moisture. It also adds richness to the flavor profile and helps the cookies rise slightly during baking. - 1 teaspoon baking soda
Baking soda is used as a leavening agent in the cookie mix. It reacts with the sugars, creating air pockets in the dough which help the cookies rise and become fluffy. - 1/2 cup chocolate chips
Chocolate chips add a burst of chocolate flavor that complements the peanut butter. When melted during baking, they create a gooey texture that contrasts beautifully with the chewy cookie. - 1/4 teaspoon salt
Salt enhances the flavors of the other ingredients and balances the sweetness. It helps to bring out the nuttiness of the peanut butter while providing a more complex flavor overall.
Directions & Preparation
Step 1: Preheat your oven to 350°F (175°C).
Preheating the oven is fundamental for achieving perfectly baked cookies. It ensures that the dough begins to bake immediately upon being placed in the oven, creating an optimal texture. If you place the cookies in a cold oven, they may spread too much before they have a chance to set.
Step 2: In a mixing bowl, combine peanut butter, sugar, and salt.
Mixing the peanut butter and sugar together forms the base of your dough. The sugar needs to be fully incorporated, so whisk thoroughly until the mixture is smooth. This step is crucial as it determines the texture and sweetness of the cookies.
Step 3: Add in the egg and baking soda, then mix until combined.
Incorporating the egg and baking soda yields a cohesive dough. The egg will add moisture and richness, while baking soda will provide the necessary lift. Take care not to overmix; just stir until everything is combined to maintain a tender cookie.
Step 4: Fold in chocolate chips.
Folding in the chocolate chips adds not only flavor but also a delightful texture contrast. Make sure the chips are evenly distributed throughout the dough to enhance each bite with that signature chocolatey goodness.
Step 5: Scoop tablespoon-sized balls of dough onto a baking sheet.
When shaping the dough, uniformity is key for even baking. Use a tablespoon or cookie scoop to portion the dough. Leave space between each ball, as the cookies will spread when baking. This step helps ensure that each cookie cooks evenly and develops a nice crust.
Step 6: Use a fork to press down, creating a crisscross pattern.
The crisscross pattern not only gives the cookies their signature appearance, but it also helps them to bake more evenly. This step compresses the dough slightly and contributes to a uniform cooking process, ensuring the centers stay gooey.
Step 7: Bake for 8-10 minutes until lightly brown.
Timing is essential; underbaking will lead to gooey cookies that may not hold their shape, while overbaking results in a dry texture. Look for a lightly golden edge, which indicates they're ready. The cookies will continue to firm up after being removed from the oven.
Step 8: Allow to cool on the baking sheet for 5 minutes before transferring.
Cooling the cookies on the baking sheet allows them to set further, preventing breakage during transfer. This also allows the residual heat to finish cooking the bottoms while keeping the tops gooey and soft. Patience here pays off!
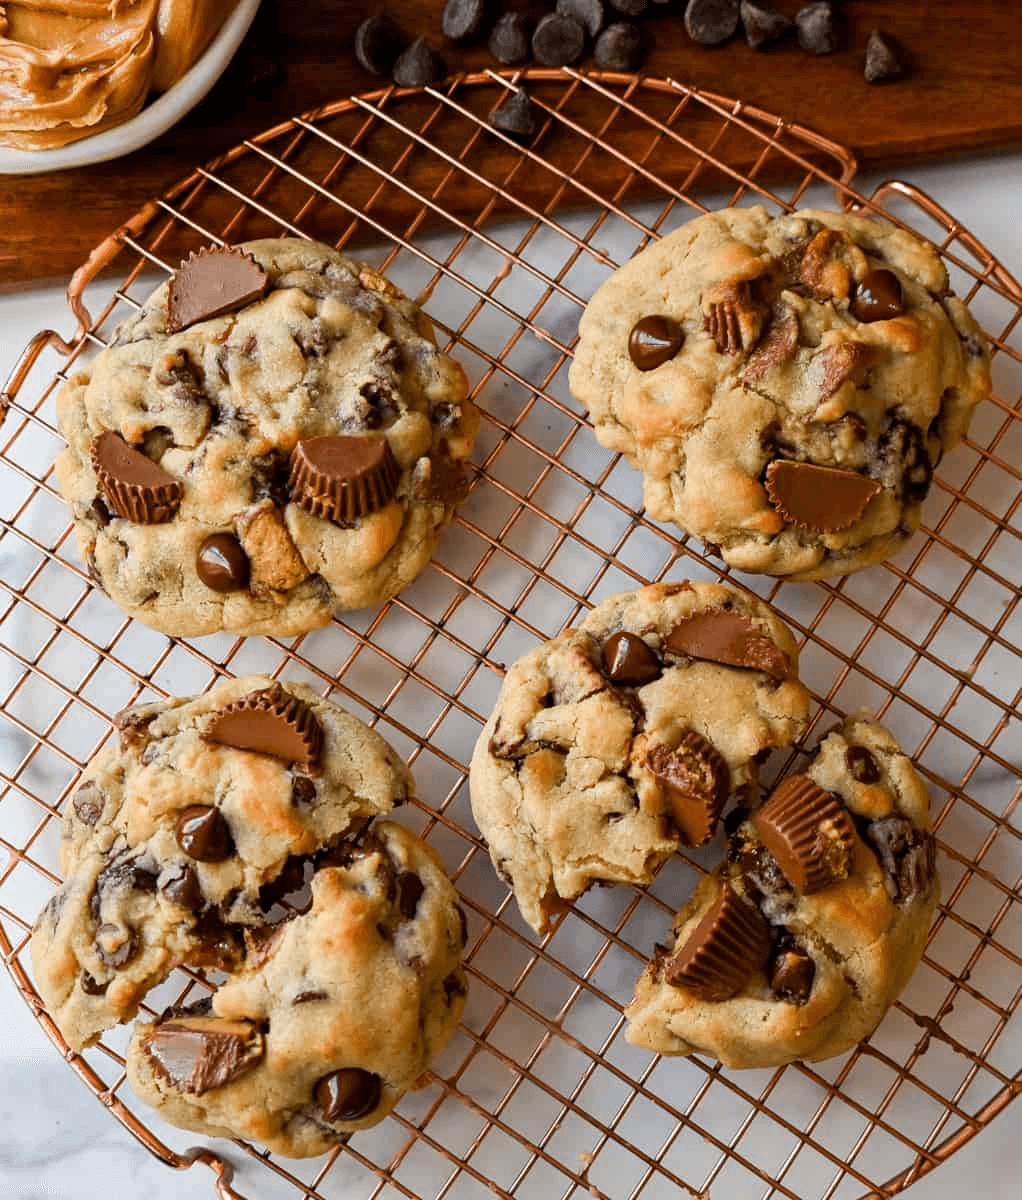
The Peanut Butter Factor
Peanut butter is not just an ingredient; it’s the heart of these cookies. The choice between crunchy and creamy peanut butter can alter the texture significantly. Creamy provides a smooth finish, while crunchy adds delightful bits of peanut flavor throughout. Whichever you choose, ensure it's well-mixed before incorporating it into the cookie dough for a consistent blend of flavor.
Chocolate Choices Matter
The type of chocolate chips you use can elevate the overall taste of your cookies. Dark chocolate pairs beautifully, contrasting the sweetness of the cookie, while milk chocolate offers a classic sweetness. You can even experiment with flavored chips such as peanut butter or white chocolate for variations that will surprise your palate with every bite.
Experimenting with Texture
To enhance the chewy texture of your cookies even further, consider chilling the dough for about 30 minutes before baking. Chilling firms up the fat, allowing the cookies to hold their shape better. This can also contribute to a thicker cookie, resulting in a delightful encounter with each bite.
FAQs
Why do my cookies spread too much during baking?
Excess spreading usually occurs if the dough is too warm when placed in the oven. Consider chilling the dough for 30 minutes to prevent over-spreading, as this will allow the fat to solidify.
Can I use natural peanut butter in this recipe?
Natural peanut butter may work, but be mindful that it tends to be more runny and can alter the texture. If you use it, ensure the dough is slightly thicker—consider adding a touch more sugar or flour.
What should I do if my cookies turn out too dry?
If your cookies come out dry, it might be due to overbaking. In the future, keep a closer eye on the baking time and remove the cookies when they are golden but still soft in the center.
Can I scale this recipe to make more cookies?
Absolutely! This recipe can be easily doubled or even tripled. Just ensure your mixing bowl is large enough to accommodate the increased volume when combining ingredients.
What if I want to add nuts to the cookies?
Adding chopped peanuts or other nuts not only adds texture but enhances the peanut flavor as well. Fold them in gently along with the chocolate chips to avoid overmixing.
How can I enhance the peanut butter flavor?
To enhance the peanut butter flavor, consider using peanut butter chips or drizzling melted peanut butter on top after baking. This adds an extra layer of richness to each cookie.
Conclusion
There’s nothing quite like the aroma of freshly baked Reese’s Peanut Butter Cookies wafting through your kitchen. They embody comfort, nostalgia, and the joy of sharing delicious treats with loved ones. With simple ingredients and straightforward steps, anyone can become a cookie baking wizard.
Whether enjoyed as an afternoon snack, a party treat, or a fun baking project with kids, these cookies are sure to please. Experiment with different chocolate varieties or mix in some nuts for an added twist. Whatever your choice, enjoy the delightful journey of baking these delicious cookies.
Recipe Card
Notes
Additional serving suggestions: pair with a crisp salad, garlic bread, or roasted seasonal vegetables for balance.
For make-ahead, prep components separately and assemble just before heating to preserve texture.
Taste and adjust with acid (lemon/vinegar) and salt right at the end to wake up flavors.